
Laptop Camera Not Working: Troubleshooting Tips and Solutions
When your laptop’s camera isn’t working, it can be frustrating—especially if you need it for video calls, meetings, or even capturing photos for work or personal use. Whether you’re trying to attend a virtual class, connect with colleagues on Zoom, or make a video call to family and friends, a malfunctioning camera can disrupt your day. Fortunately, with the right approach, you can fix many laptop camera issues.
Here, we’ll explore the common reasons behind a laptop camera not working, offer troubleshooting tips, and provide solutions for various operating systems. So, if you’re facing this issue, you’re in the right place!

Common Causes of a Laptop Camera Not Working
Firstly, it’s important to understand the potential causes of the issue. Some of the most common reasons why your laptop camera might not be working include:
- Camera Driver Problems: The most common culprit behind a non-functional camera is outdated or corrupted drivers. If your laptop’s camera driver is malfunctioning, your system won’t be able to access the camera properly.
- Software or App Conflicts: Sometimes, certain software or applications may prevent your camera from being recognized or cause it to malfunction. If another application is using the camera, it could block access to it in other programs.
- Privacy Settings and Permissions: Modern operating systems, especially Windows 11, have stringent privacy settings that restrict app access to your camera. If you haven’t granted the necessary permissions, your apps may not be able to use the camera.
- Hardware Issues: Physical damage or internal hardware malfunctions can often lead to a non-working camera. If you’ve recently dropped your laptop or it’s showing signs of other hardware issues, this could be the reason behind the problem.
- Conflicting Antivirus or Security Software: Occasionally, third-party security or antivirus software might interfere with the camera. This is especially true for software that’s designed to protect your privacy by blocking access to your device’s camera.

Basic Troubleshooting Steps
If your laptop camera isn’t working, don’t panic! Here are a few simple troubleshooting steps to help you diagnose and fix the issue:
1. Check Your Camera Settings
Many laptop cameras have a privacy shutter for the webcam. Make sure the shutter is open and not blocking the lens. Similarly, if you’re using a laptop with a physical switch, it may have been accidentally turned off. This is often the simplest and first step to check.
2. Restart Your Laptop
Sometimes, a simple restart can fix many tech problems. Restart your laptop to close any background apps or processes that might be causing a conflict. When your system reboots, the camera may start working again.
3. Update Your Camera Driver
One of the most common reasons a laptop camera stops working is an outdated or corrupt driver. If your laptop’s camera driver is outdated or not functioning correctly, you can update it through your operating system’s device manager.
For Windows
- Right-click on the Start button and select “Device Manager.”
- Scroll down and expand the “Imaging Devices” category.
- Right-click on your camera device and select “Update driver.”
- Choose “Search automatically for updated driver software.”
- Follow the on-screen instructions to update the driver.
For macOS
- Check if any software updates are pending by clicking on the Apple menu and selecting “System Preferences.”
- Click on “Software Update” and install any updates related to your system, including camera drivers.
4. Check Privacy Settings
If you’re using Windows 10 or 11, check your privacy settings to make sure that apps have permission to use your camera.
For Windows 10/11
- Open the “Settings” menu and go to “Privacy.”
- Under the “App Permissions” section, click on “Camera.”
- Toggle the setting to allow apps to use the camera. You can also specify which apps have access to the camera.
For macOS
- Open “System Preferences” and click on “Security & Privacy.”
- Go to the “Camera” tab and check the apps you want to use the camera with.
5. Close Other Applications
If multiple apps are trying to use the camera at the same time, they might conflict with each other. Close any apps that might be using the camera in the background. Check for video conferencing tools like Zoom, Skype, or Microsoft Teams, as these applications often keep the camera active even when you’re not using them.
6. Check for Software Updates
Sometimes, the issue can be fixed by installing the latest updates for your operating system. These updates often include bug fixes that can resolve camera problems.
For Windows
- Go to “Settings” and click “Update & Security.”
- Click on “Check for Updates” to make sure your system is up to date.
For macOS
- Go to “System Preferences”> “Software Update” to check for updates.
7. Run Hardware Troubleshooter (Windows Only)
Windows comes with a built-in hardware troubleshooter that can help diagnose issues with hardware components, including the camera.
- Type “Troubleshoot” in the search bar and select “Troubleshoot Settings.”
- Scroll down and click on “Hardware and Devices.”
- Follow the on-screen instructions to run the troubleshooter and identify any issues with your camera.
Advanced Troubleshooting Tips
If the basic troubleshooting steps didn’t work, try these more advanced solutions:
1. Reinstall the Camera Driver
If updating the camera driver didn’t resolve the issue, try reinstalling the driver. This process involves uninstalling the existing driver and reinstalling it.
For Windows
- Open “Device Manager” and expand “Imaging Devices.”
- Right-click on the camera device and select “Uninstall device.”
- Restart your laptop, and Windows will automatically attempt to reinstall the camera driver.
For macOS
If reinstalling drivers manually isn’t an option, try resetting the SMC (System Management Controller) and NVRAM. These resets can help with hardware issues related to the camera.
2. Check for Hardware Issues
If none of the above steps worked, there might be a hardware issue with the camera. This is especially likely if your laptop is older, has suffered from a drop, or has had other internal issues. To check if the problem is hardware-related, connect an external webcam to your laptop. If the external camera works fine, then the issue is likely with the built-in camera.
3. Contact Customer Support
If your laptop camera is still not working despite troubleshooting, it may be time to contact the manufacturer’s customer support team. They can guide you through additional troubleshooting steps or recommend repairs if there is a hardware issue.
Final Thoughts
A laptop camera not working can be frustrating, but with the right steps, it’s usually something you can fix yourself. However, if you’ve followed the troubleshooting tips in this guide and the problem persists, don’t hesitate to reach out to customer support for further assistance.
About Laptop World
With 20 years of experience in Retail, Laptop World is Bangalore’s oldest multi-brand laptop store, offering a personalized customer experience. We are unbiased towards any particular brand, dealing with top names like HP, Lenovo, Dell, Asus, and Apple. Our commitment to excellent customer service sets us apart.
For businesses, our corporate division, Nurture IT, provides comprehensive IT solutions tailored for startups, ensuring all your IT needs are met in one place. From laptops to networking, servers, Information Security, End User Protection – we have you covered.
FAQs on Laptop Camera Not Working
1. How do I activate my laptop camera?
- Windows: Open an app like Zoom or Camera, and grant the app permission to access your camera.
- macOS: Open an app like FaceTime or Zoom, and the camera should activate automatically.
2. How do I reset the camera on my laptop?
- Windows: Go to “Device Manager,” right-click on the camera, choose “Uninstall device,” then restart the laptop.
- macOS: Reset the SMC and NVRAM by turning off your laptop, pressing Shift + Control + Option + Power for 10 seconds, and then turning it back on.
3. Why is my camera showing a black screen on my laptop?
Possible causes include software conflicts, outdated drivers, incorrect app settings, or privacy settings blocking access. Close apps using the camera and check permissions.
4. How do I reinstall the camera driver?
- Windows: Uninstall the camera in “Device Manager,” restart your laptop, and it will reinstall the driver automatically.
- macOS: Reset the SMC and NVRAM, or update the operating system to fix driver-related issues.
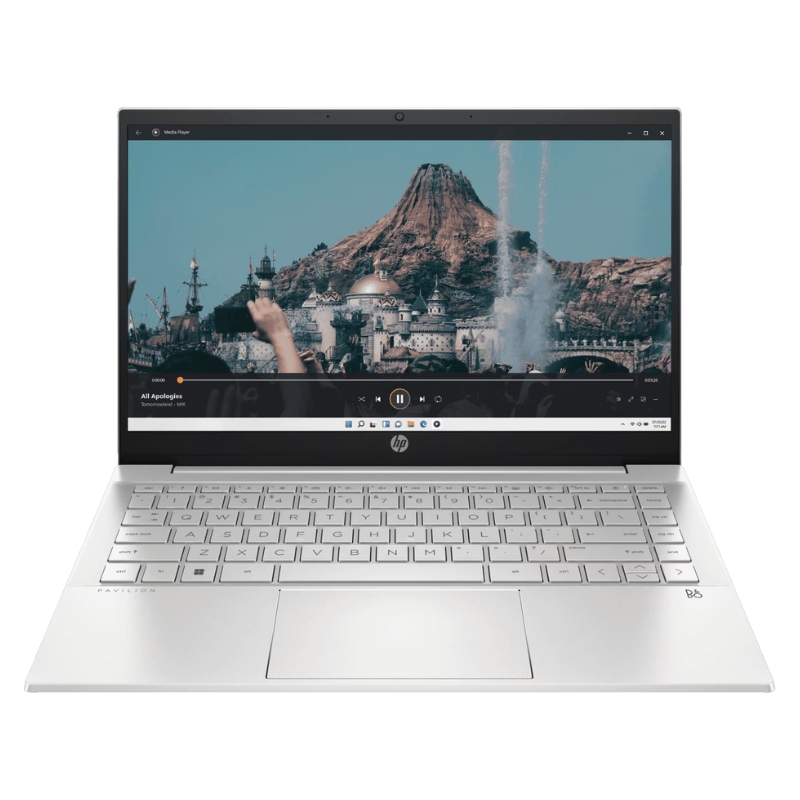
5. How to fix the camera in an HP laptop?
- Update the driver through “Device Manager.”
- Check camera permissions under “Settings” > “Privacy” > “Camera.”
- Use HP Support Assistant to run diagnostics if the issue persists.