

How to Safely Remove and Replace Laptop RAM Modules
Learn how to safely remove and replace your laptop RAM modules with this detailed guide. Boost your system’s performance with a simple laptop RAM upgrade.
A simple RAM upgrade will give your laptop a huge performance boost, making it faster and more efficient. Whether you’re looking to enhance your laptop’s multitasking capabilities or prepare it for more resource-intensive tasks, a RAM upgrade is one of the best ways to breathe new life into your device. In this guide, we will walk you through the process of safely removing and replacing your laptop RAM modules to achieve the ultimate laptop RAM upgrade.
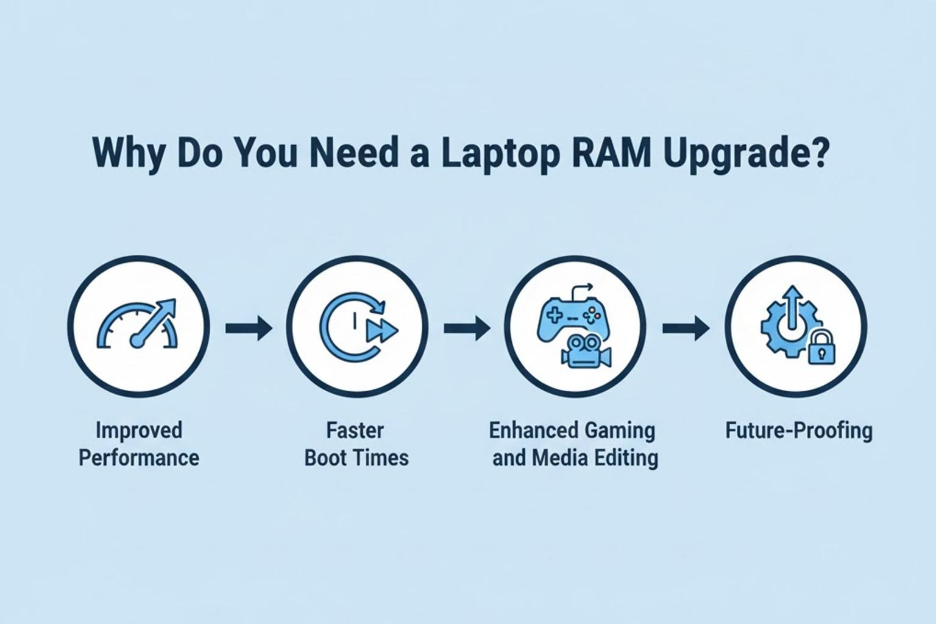
Why Do You Need a Laptop RAM Upgrade?
Before diving into the technical steps, let’s explore why you might want to upgrade your laptop’s RAM.
- Improved Performance: RAM is vital for the performance of your system. More RAM means your laptop can handle more applications simultaneously.
- Faster Boot Times: With more RAM, your system can load applications and files faster.
- Enhanced Gaming and Media Editing: If you’re into gaming or media editing, an upgrade can provide smoother gameplay and quicker rendering times.
- Future-Proofing: As software becomes more demanding, having additional RAM helps your laptop keep up with evolving requirements.
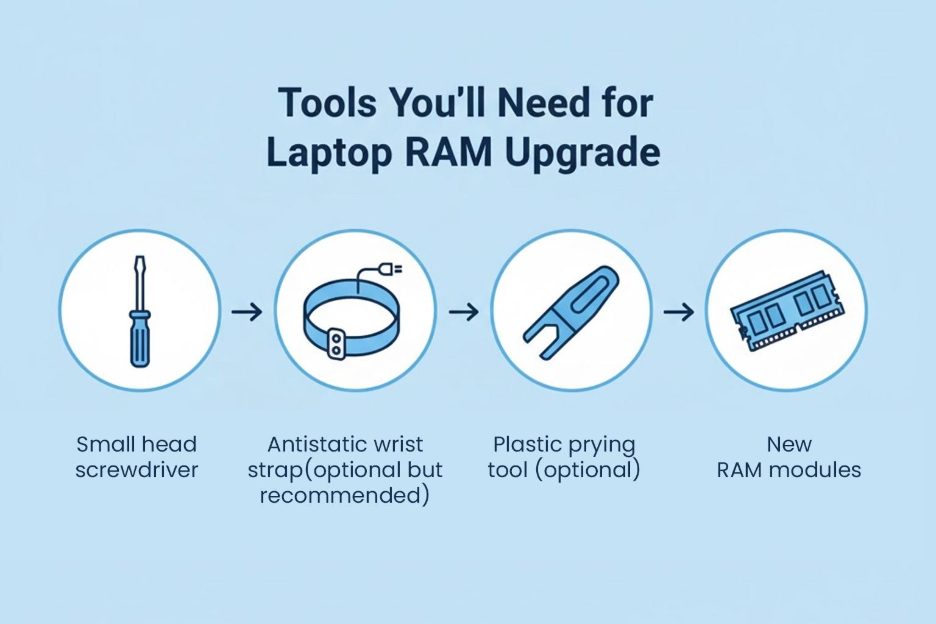
Tools You’ll Need for Laptop RAM Upgrade
Before you start the process of upgrading your laptop’s RAM, make sure you have the following tools:
- Small head screwdriver: Most laptops use screws to secure the RAM compartment, so a precision screwdriver will come in handy.
- Antistatic wrist strap (optional but recommended): Electrostatic discharge (ESD) can damage sensitive laptop components. An antistatic wrist strap can help protect your laptop.
- Plastic prying tool (optional): This tool is used to gently open your laptop’s back panel without causing damage.
- New RAM modules: Be sure to purchase compatible RAM for your laptop. Check your laptop’s manual or the manufacturer’s website to find out what type of RAM you need.
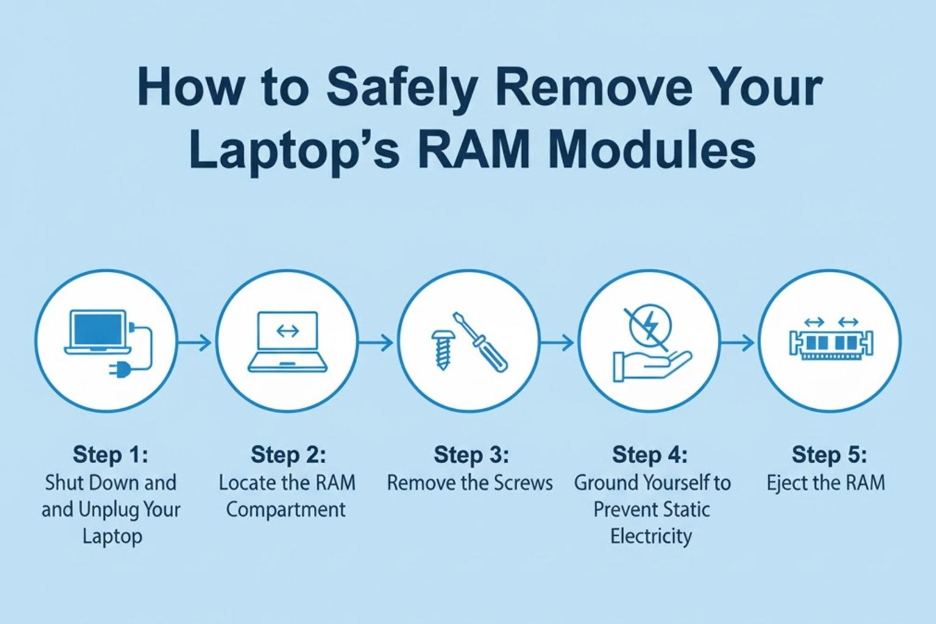
How to Safely Remove Your Laptop’s RAM Modules
Now that you have your tools ready, it’s time to start removing the existing RAM. Follow these steps carefully:
Step 1: Shut Down and Unplug Your Laptop
Before you begin, make sure your laptop is powered off completely. Unplug the power adapter and disconnect any peripherals, including the mouse, keyboard, and external hard drive.
Step 2: Locate the RAM Compartment
Most laptops have a dedicated compartment for RAM. On some models, this compartment is located at the bottom of the device and is often covered with a plastic or metal panel. Look for a small hatch or a screw that holds the panel in place.
Step 3: Remove the Screws
Use your small head screwdriver to remove the screws securing the RAM cover. Keep these screws in a safe place so you don’t lose them.
Step 4: Ground Yourself to Prevent Static Electricity
Static electricity can damage your laptop’s internal components, so it’s important to ground yourself before handling any internal parts. You can use an antistatic wrist strap or touch a metal object to discharge any static electricity from your body.
Step 5: Eject the RAM
Once the compartment is open, locate the RAM slots. The RAM sticks are typically secured by small clips on either side. Gently pull these clips apart, and the RAM should pop up at an angle. Carefully pull the RAM module out of its slot without applying excessive force.

How to Install New RAM Modules
Now that the old RAM is removed, you can proceed with installing your new RAM modules. Follow these steps:
Step 1: Align the New RAM Module
Take the new RAM module and align it with the slot. The RAM module will only fit one way due to the notch on the bottom edge. Make sure the notches on the RAM stick align with the protrusions in the RAM slot.
Step 2: Insert the RAM Module
Gently insert the new RAM module into the slot at a slight angle (usually about 30 degrees). Press down firmly but gently until the module clicks into place. The clips on the sides should automatically secure the module once it’s seated properly.
Step 3: Replace the Panel and Reattach the Screws
Once the new RAM is installed, carefully replace the panel that covers the RAM compartment. Use your screwdriver to reattach the screws you removed earlier.
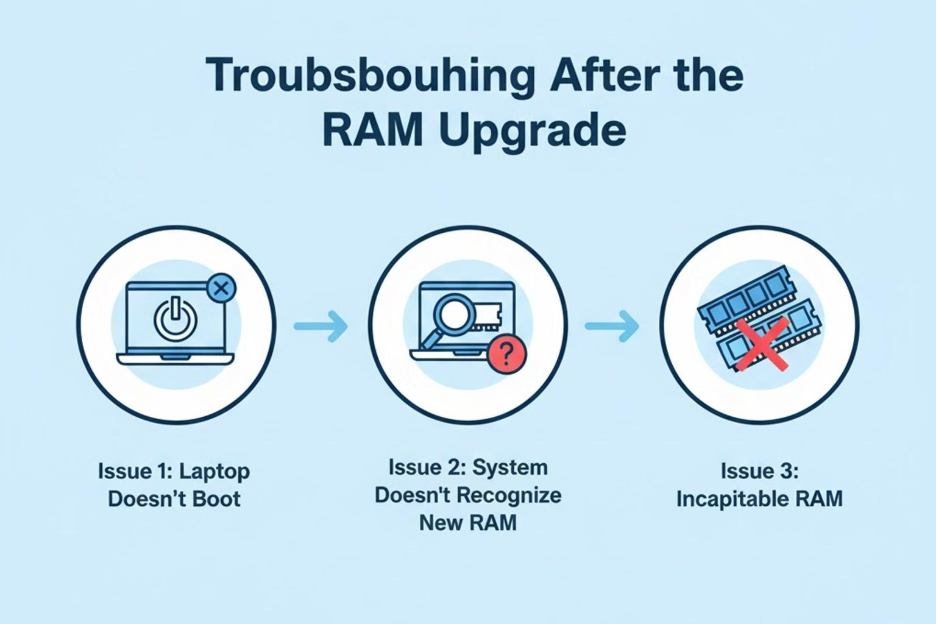
Troubleshooting After the RAM Upgrade
In most cases, the laptop will boot up normally after installing new RAM. However, if you run into issues, here are some common troubleshooting steps:
Issue 1: Laptop Doesn’t Boot
If your laptop fails to boot or powers on with a blank screen, it could indicate that the RAM isn’t seated properly. Try removing and reseating the RAM to ensure it is connected properly.
Issue 2: System Doesn’t Recognize New RAM
Sometimes, the system might not recognize the new RAM right away. To check if the RAM is installed correctly, go to your laptop’s system settings and check the memory information. On Windows, you can do this by typing “Task Manager” in the search bar, opening it, and checking the “Performance” tab.
Issue 3: Incompatible RAM
If your laptop still doesn’t recognize the new RAM, the RAM you purchased may be incompatible with your system. Double-check the specifications to confirm that the new RAM matches your laptop’s requirements. Some systems may only support specific types, speeds, or maximum capacities of RAM.
Final Thoughts
A laptop RAM upgrade can significantly improve the performance of your device. By following the steps outlined in this guide, you can safely and easily remove and replace your laptop’s RAM modules, giving your system a much-needed boost.
However, if you’re unsure about performing the upgrade on your own or run into any difficulties, don’t hesitate to visit Laptop World today. Our expert technicians are here to assist you with seamless upgrades!
FAQs
1. How do I find compatible RAM for my laptop?
You can find compatibility information in your laptop’s manual or on the manufacturer’s website. Check the type, speed, and maximum supported capacity of RAM your laptop can handle.
2. What is the first step in removing laptop RAM?
The first step is to power off your laptop, unplug it, and remove any connected peripherals, including the battery if removable.
3. What tools do I need for a laptop RAM upgrade?
You’ll need a small head screwdriver, an antistatic wrist strap (optional), a plastic prying tool (optional), and compatible new RAM modules.
4. Can upgrading my laptop RAM void its warranty?
Some manufacturers may void the warranty if you open your laptop and replace parts. Check your warranty policy before proceeding with the RAM upgrade.